Ever had one of these thoughts as your guard was being passed…
“How did I end up here?”
“Ok, if I just hold them, hopefully, they’ll just… ah crap!”
“Why does this always happen?”
“I suck at guard!”
“Sh*t, Sh*t, Sh*t, Sh****************T!”
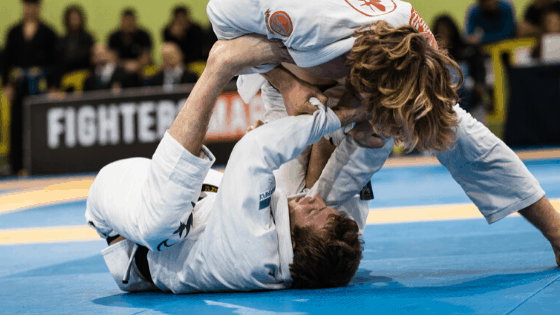
If you aren’t a natural guard player, your new to jiu jitsu, or you simply train with a bunch of #everydayporrada guard passing savages, being put on your back and forced to defend that sweet sweet area between your opponent’s chest and your own can be a nightmare.
It’s ok, because help is on the way.
Today, we’re going to run through a simple guard retention system that has helped Keenan become one of the best and most notorious guard players on the planet.
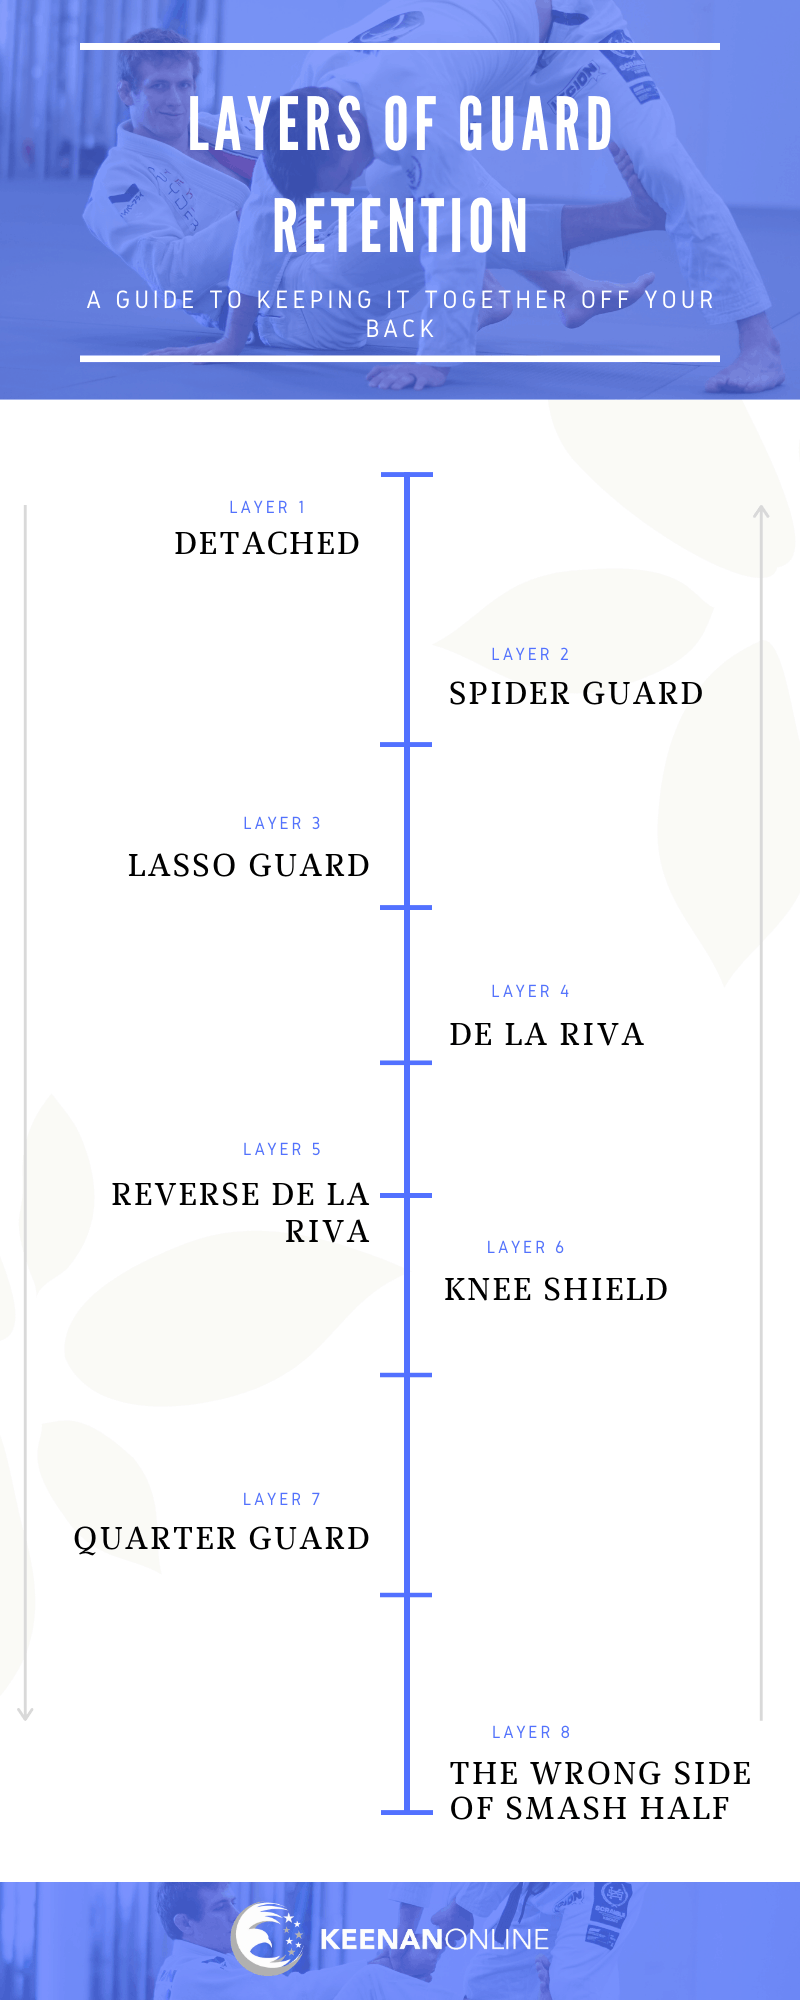
And that simple system is what we call, the Layers of Guard.
It’s a kind of like a cheatsheet specifically created to help you make sense of the dance between your guard and those desperately trying to pass it.
By the end of this article, you’ll have a crystal clear understanding of which guard to play in which situation, so you can put a major spanner in the works for your opponent and get your own game back on track.
WHY YOU NEED TO KNOW THE LAYERS OF GUARD
The basic overarching idea behind the Layers of Guard concept revolves around distance.
Your opponent, when trying to pass your guard, has the goal of closing that distance.
While you, in an attempt to retain your guard, will be trying to increase it.
Much like striking arts, various distances dictate various zones of engagement.
For example, in Muay Thai further distances warrant the use of kicks and jabs, while closer distances are more suited for elbows and knees.
And if you happen to mix these distances up and shoot for say an elbow from a kicking distance, or a head kick from a clinch (not that it would be physically possible) the consequences could prove costly.
And the same thing applies to guard playing and guard retention.
Knowing exactly which guard to play, in relation to the specific zone of engagement, can be the difference between retaining guard or retaining bottom side control.

PEELING BACK THE LAYERS
Ok, now that we have a basic idea of why we need to understand the Layers of Guard concept, it’s time to run through each layer, one by one, from the most distant of layers all the way to “Stop! Get off me”.
Note – it is important to remember that this is a system for guard retention and not for attack. Each transition between layers must be viewed as a proactive action to be initiated when it is apparent that the layer of guard you find yourself in will be compromised.
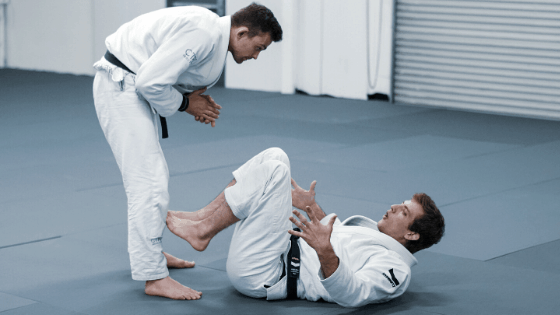
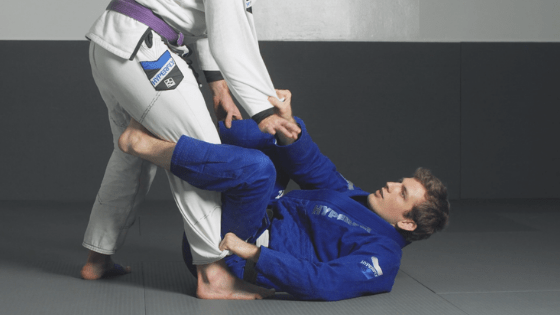
Layer 1 – Detached “Neutral” Positioning
It may surprise you to know that our first layer of guard retention doesn’t actually involve what you would call – a guard.
However, a detached “neutral” position can be a super dangerous place.
Why is it so dangerous? And why have I placed the word “neutral” in quotation marks?
Even though both you and your opponent have yet to establish dominant grips, your opponent still possesses a slight advantage in movement.
That is, your opponent can initiate their movements with little risk compared to you, a person flat on their back, on the ground.
Any movement to sit up and secure a grip takes time and limits your immediate movement in other directions, should you need them.
And this can open you up to underhooks, grips, blast knee cuts and lateral movements – if your opponent is savvy enough to take advantage of the openings.
For this reason, in a detached position where you find yourself on your back, it would be wise to adopt a counter-based mindset.
In IBJJF rulesets, the referee will demand the standing player to engage with the person on their back. Use this to your advantage because if your opponent chooses to maintain distance, they will be penalized.
But you need to be smart here and cover yourself…
Keep your knees to your chest to block any cowabunga moves by your opponent who may want to cartwheel or Hulkamania through your guard from this position.
Being that your legs are the closest to your opponent, and your knees are now sufficiently blocking the path to your chest, chances are your opponent’s first play will be seeking a grip on your pants.
Use this knowledge to your advantage and place your hands where your opponent is most likely to grab.
This now gives you the opportunity to get grips on their sleeves as they reach in.

It is important – and I mean important – that your priority in this detached position be to gain grips safely to set up your guard.
Getting grips first and setting up your guard provides you the upper hand. Whereas having to defensively react by pushing an opponent who acts first to pass your guard only places you on the back foot.
And when you’re on the back foot, especially against a good guard passer, you simply cannot attack or retain your guard effectively.
All you can hope to do is move and recover ground.
And, the more time you spend on the back foot, the closer your opponent gets to the pass.
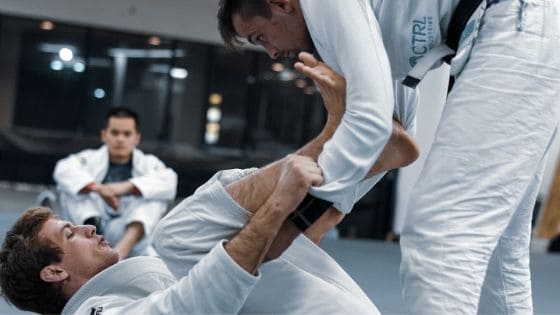
Layer 2 – Spider Guard
Once you get those grips on your opponent’s sleeve, the next closest layer of guard, from a detached position, is the spider guard.
The inherent pushing characteristic of your legs in the spider guard make it a great tool for creating and maintaining distance.
From here, you know that your opponent’s best bet to pass your guard is to remove at least one of your feet from their biceps.
Knowing this ahead of time, as soon as you feel your spider hook at risk of being compromised, you can safely and confidently start entering the next layer of guard…
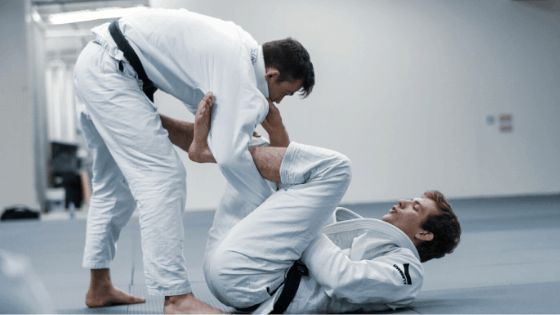
Layer 3 – The Lasso
Now that your opponent has engaged and managed to close a little more distance by removing your spider guard hook, odds are they will begin to move to either side to pass or squat down in an attempt to smash down the middle.
This is where the lasso becomes a lifesaver.
The lasso makes it very difficult to pressure pass your guard as your leg is now locked to your opponent and secured between your chest and their own.
If your opponent attempts any lateral passing play, the lasso ensures that you’ll be connected to them the whole time, essentially forcing them to drag your weight left and/or right as they attempt to pass.
You’ll find that your opponent is limited in options for freeing their arm from the lasso, and will most likely try to weave their hand under your thigh and out to freedom.
Again, knowing this can be used to your advantage.
As soon as you feel you’re losing your lasso grip and hook it’s time to proactively set up the next layer of the guard.
Layer 4 – The De La Riva
In order to free their arm from the lasso, your opponent will step that same side leg forward in an attempt to provide extra leverage for freeing their arm.
This now leaves that leg wide open to be hooked by the De La Riva.
The most common thing for your opponent to do in this situation is to turn their toes out, push your knee down and straighten their leg to free it from the hook.
Again, knowing this and being proactive the second you feel your De La Riva hook has been compromised, will make the transition to the next layer of guard a lot more effective …
Layer 5 – The Reverse De La Riva
The De La Riva to Reverse De La Riva is a super simple transition to make and the actual motion of moving from one to the other can provide you with the momentum needed to get underneath your opponent (usually the main goal of the Reverse De La Riva).
It is important to note here that we have hit an important milestone in the Layers of Guard…
As we have progressed from a detached ‘neutral’ position, through to distance regulating guards like the spider, lasso and De La Riva, we now find ourselves deeper in the layers of guard where your opponent may feel they are close enough to your chest to shoot for a pass.
It may be hubris or it may be justified – whatever it is, it’s real and you need to be aware of it.
The most common pass from the Reverse De La Riva is often some form of the knee cut.
And with a quick and simple reaction of your top leg you could negate that knee cut by setting up…
Layer 6 – The Knee Shield
Ok, we’re getting into the deep end now.
But rest assured the knee shield is still a solid line of defense: providing you with options for attack or a means to track back and create that sweet sweet life-saving distance between your chest and your opponent’s.
But, if your opponent is able to get past this layer of defense and continue with the knee cut, you have to act fast and engage…
Layer 7 – The Quarter Guard
Now, you may be tempted to lock down and hold on to your opponent for dear life here in the quarter guard, like Sylvester Stallone at the start of Cliffhanger, praying the clock runs out before your luck does, but don’t be foolish.
You need to act fast. Because the more time you hold, the more time your opponent has to readjust and remove their foot.
Now that we’re edging closer to the final layer of guard we have reached yet another milestone…
And that milestone involves a complete concentration shift in your goals.
At earlier layers, you had the opportunity to play your game and progress through this system as you felt your guard in danger of being compromised.
While you do have some options to sweep or submit your opponent at the 7th and 8th layer of guard; the percentages of achieving them are much much lower compared to the previous layers, while your opponent’s successful passing percentages are much much higher.
With this in mind, your sole goal here should be a focus on moving back through the layers of guard to a place where you can once again play a game of sweeps and submissions with a comparatively lower risk of being passed.
Layer 8 – The Wrong Side of Smash Half
This is it. This is Defcon!
Look, I’m not going to sugar coat it. In this layer, your moneymaker is going get all smushed up in a cross face, much like an Italian Auntie pushing your fat cheeks together as she wipes them with a wet tissue.
If you find yourself here, yes you are in trouble, but thankfully, not all is lost.
As long as you maintain your half guard, you still have a slim opportunity to work in your frames, lever your opponent away from you and work backward through the layers of guard.
Will it be easy? No.
Is there a guarantee you’ll be successful? Not at all.
Is there hope you’ll make it out alive? It doesn’t look good my friend.
But, you got to try.
As mentioned earlier, while we’ve progressed through the guards in one direction, with the distance between your chest and your opponent’s closing, you still have the option to progress backward through the Layers of Guard.
The Layers of Guard concept wasn’t created to simply slow down the path to your impending doom; it was created to provide you with a roadmap for recognizing where you are and for getting out of trouble when you need it.
Just remember…
When you find yourself in bad situations and feel that you’re one step away from having your guard passed, identifying where you are in relation to the Layers of Guard and what your opponent’s most probable intentions are will give you the confidence and the power to get back on track and stay that all-important one step ahead.